How to Build a Retaining Wall
Building a stone retaining wall is fit for DIYers if the wall is no higher than three feet. Utilizing the dry-stack method, concrete and mortar footings are not necessary.
Learn the simple, no-concrete way for building your stone retaining wall through stacking the stones on top of one another—the dry-stack technique.
What Is a Dry-Stack Retaining Wall?
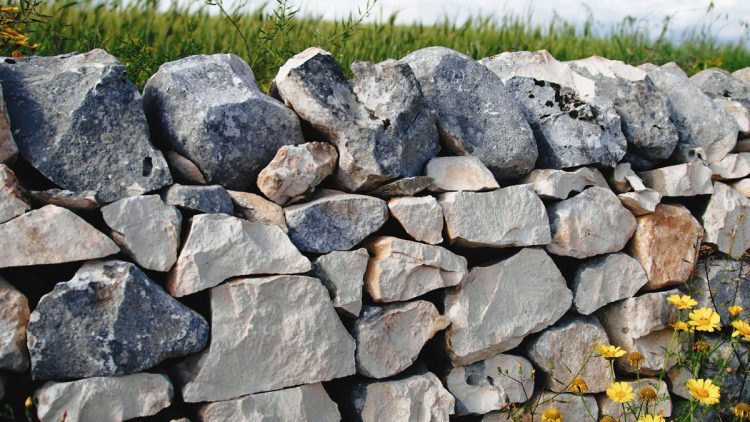
A dry-stack retaining wall is constructed utilizing natural stones that are “stacked” on top of one another, with the whole retaining wall on top of a gravel foundation. Dry-stack retaining walls drain adequately. Correct drainage decreases damage and the requirement for retaining wall repairs.
Organize the Stones
Organize your retaining wall stones approximately by shape and size, making different piles as you need. Do this off the project site, not at the retaining wall’s location.
Use larger, flat stones for the foundation. Reserve smooth, undamaged stones for the capstones at the top of the wall.
Pare Down the Stones
Hammer off points and other unusual shapes using a maul and brick chisel, as required, to make them fit throughout construction.
Run a Line Level
Hammer wooden stakes down and run a masonry string between the stakes to mark the location of the front surface of the foundation of your retaining wall. Position a line level on the string, then pull the string tight from one end, and level the line prior to tying it to the stake.
Dig the Area
Dig out the area, beginning from the string and moving back towards the incline. Dig twelve inches into the ground for creating a flat, level channel for the gravel foundation. Dig into the incline for creating a six- to twelve-inch-wide space between the backside of the wall and the incline.
Add Landscape Fabric
Cover the dug-up area with bands of landscape fabric. Lay the fabric vertical to the front of the wall. Extend the fabric a couple feet onto the topmost-level ground. Overlap neighboring strips of fabric by six inches. Cut the bands to length using a utility knife.
Build the Wall Base
Fill the channel with five inches of compactible backfill. Rake the backfill so it is level and flat. Tamp the backfill with a hand tamp or they are available for rent. Add a one-inch layer of gritty sand over the backfill. Smooth the sand using a short two by four board so it is level and flat.
Lay the Initial Course
Lay larger, flat stones along the leading edge of the channel to build the initial course. Remove or add sand underneath each stone, as required, so the tops of the stones are flush with each other. Place the four-foot carpenter’s level across several stones for leveling the course.
Lay the Secondary Course
Lay the secondary course of stones on top of the first, once more spacing out the joints. Rigidly set each stone to decrease wobble.
Refill the Wall
Refill the space between the wall and the slope with drainage backfill. Rake the backfill level and flat, then tamp it thoroughly using the hand tamp. Refill only up to the uppermost course on the wall.
Install Tie-Back Stones
With higher courses of stones, position tie-back or dead-man stones. Tie-back stones extend back into the incline for attaching the wall to the earth. Place the stones every four feet horizontal feet (4 to 1 ratio)
Fold Back the Fabric
Fold the landscape fabric over the runoff gravel as you get close to the peak of the wall. You can do this prior to the last one or two conventional courses or ahead of the capstones (the highest course), subject to how much soil you want at the top of the wall (for developing greenery).
Place the Capstones on the Wall
Place the top course of stones—known as capstones—for completing the top of the wall. If you desire, you can glue the capstones to the course below for keeping them secure. Utilize masonry glue.
Backfill With Soil
Trim the landscape fabric so it is right below the top of the wall. Blanket the landscape fabric and backfill on the backside of the top of the wall with soil, according to need. For growing greenery in this area, the soils layer should be at a minimum of five to six inches in thickness.
A & A Materials, Inc. Provides Landscaping Materials Scottsdale, Arizona
A & A Materials, Inc., located in Scottsdale, Arizona, offers, all purpose sand, including washed concrete sand, aggregates, river rock, rip rap rock, mulch and wood chips for your landscaping or gardening needs. Contact us or call us at 480-990-0557 for more information.