
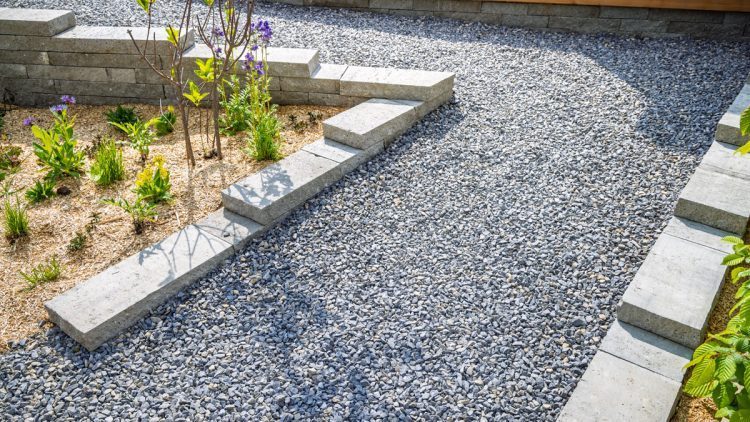
Building A Gravel Pathway
There’s a certain charm to gravel pathways and courtyards. They wing it to at the same time be both nonchalant and formally appealing. A gravel pathway conveys “let’s go someplace, and you do not require a suit to go there.” The truth is that a gravel pathway can be out-and-out unappealing if not built correctly. Gravel could spill over and combine with nearby mulch and grass. Weeds can invade the gravel. Above all, a gravel pathway can be challenging to walk on if not built properly. If you’ve disregarded the idea of a gravel pathway since the last one you walked on, it felt like trudging through the sand at the beach. The following is how to build a gravel pathway the right way.
Step One – Excavation
You cannot simply empty a couple of garden carts of gravel on your yard and say it’s a pathway. When building a gravel pathway for a project you should dig down four to six inches. That is going to let you remove the plant matter and/or sod in the top couple of inches, and it enables you to create a clearly established shape for your pathway.
Step Two – The Prep
Once the pathway is dug out, you can run a plate tamper over the soil to give you a firm sub-base. You can then cover the bottom with a ground stabilization fabric to keep the area and the base layer separate. As for the outer edges, it is typically suggested to some type of edge to keep the gravel separate from nearby garden beds or lawn areas. Granite cobbles are elegant but costly; powder coated aluminum edges are appealing yet inconspicuous and are affordable. Some people don’t favor the plastic edges sold in box retailers as they never seem to hold up that good and it does a terrible job of retaining a true half diameter curve.
Step Three – The Base Layer
Do you know the reason why a terribly installed gravel pathway (or driveway, or courtyard) feels like you’re trudging through sand at the beach? It’s due to a bunch of DIY’s having no idea how to build a gravel pathway. Some gravel is round and does not inter-lock, so you are actually moving the entire depth of your pathway with every step you take.
For the base layer you can utilize some types of gravel. You can spread it out evenly, then use a plate tamper overtop of it. This technique is continual until you’re within an 1” to an 1 ½” of your wanted gavel pathway height. The objective is to build a compacted, substantial base you can easily drive a vehicle over.
Step Four – The Pretty Stuff
You can finish off your pathway with decorative stone or rock of your liking. Which could be gravel, pea gravel, or whatever seems to work best for the look you are attempting to accomplish. If you are using an angled stone and it will most likely be a very busy area, use the plate tamper over it a couple of times. don’t use the compaction plate with pea gravel since a round stone is not going to compact or inter-lock.
Landscape Materials Phoenix by A&A Materials, Inc.
A & A Materials, Inc., located in Scottsdale, Arizona, offers landscaping materials for your landscaping needs, especially if you need mulch or native compost. Call us at 480-990-0557 for more information.